To learn machine learning, we will use the Python programming language in this tutorial. So, in order to use Python for machine learning, we need to install it in our computer system with compatible IDEs (Integrated Development Environment).
In this topic, we will learn to install Python and an IDE with the help of Anaconda distribution.
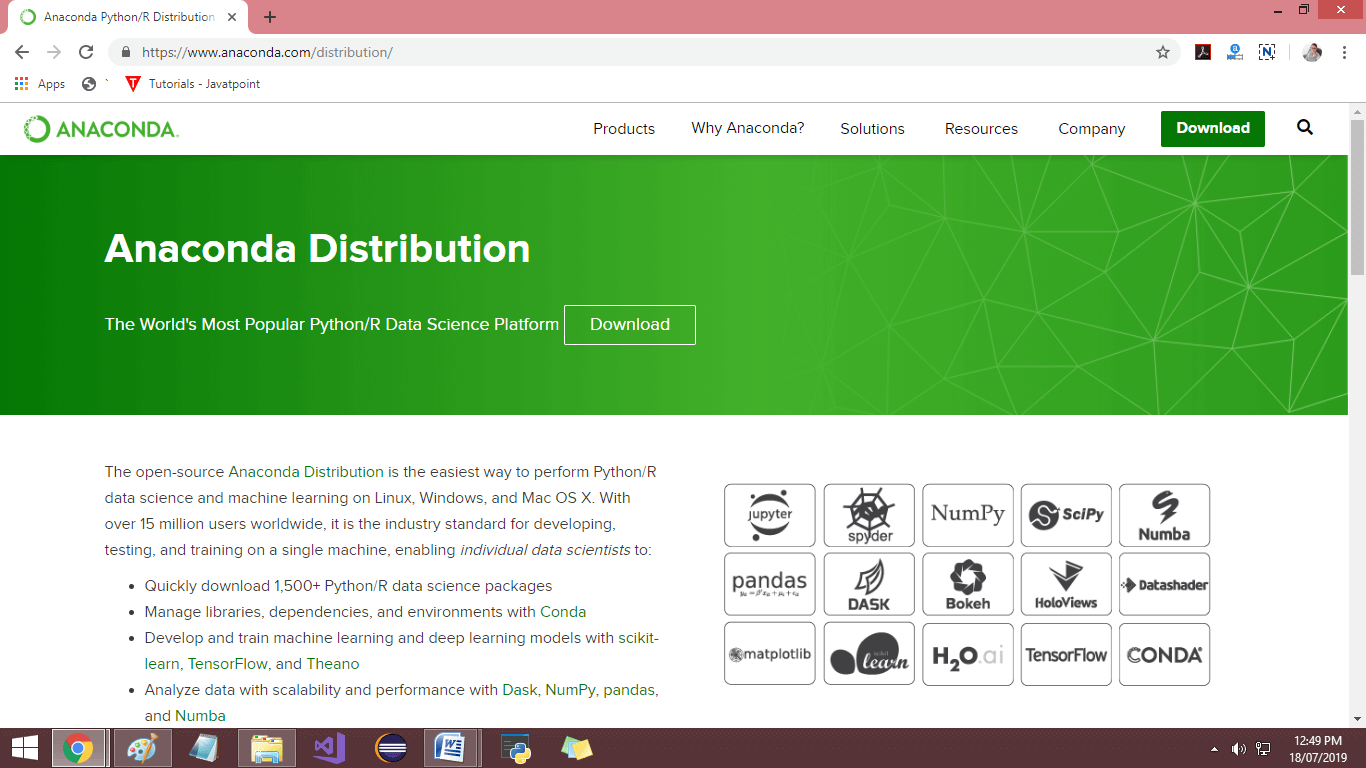
Anaconda distribution is a free and open-source platform for Python/R programming languages. It can be easily installed on any OS such as Windows, Linux, and MAC OS. It provides more than 1500 Python/R data science packages which are suitable for developing machine learning and deep learning models.
Anaconda distribution provides installation of Python with various IDE's such as Jupyter Notebook, Spyder, Anaconda prompt, etc. Hence it is a very convenient packaged solution which you can easily download and install in your computer. It will automatically install Python and some basic IDEs and libraries with it.
Below some steps are given to show the downloading and installing process of Anaconda and IDE:
Step-1: Download Anaconda Python:
- To download Anaconda in your system, firstly, open your favorite browser and type Download Anaconda Python, and then click on the first link as given in the below image. Alternatively, you can directly download it by clicking on this link, https://www.anaconda.com/distribution/#download-section.

- After clicking on the first link, you will reach to download page of Anaconda, as shown in the below image:
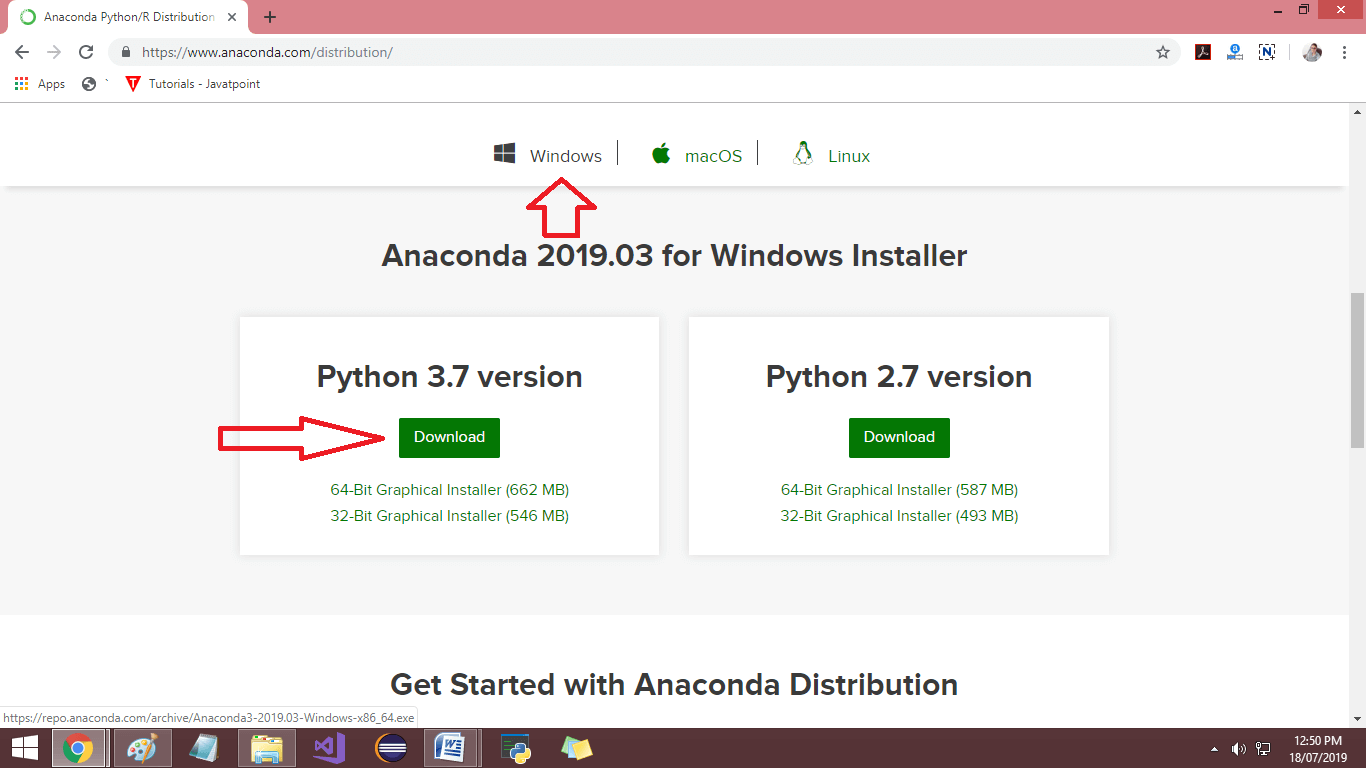
- Since, Anaconda is available for Windows, Linux, and Mac OS, hence, you can download it as per your OS type by clicking on available options shown in below image. It will provide you Python 2.7 and Python 3.7 versions, but the latest version is 3.7, hence we will download Python 3.7 version. After clicking on the download option, it will start downloading on your computer.
Note: In this topic, we are downloading Anaconda for Windows you can choose it as per your OS.
Step- 2: Install Anaconda Python (Python 3.7 version):
Once the downloading process gets completed, go to downloads → double click on the ".exe" file (Anaconda3-2019.03-Windows-x86_64.exe) of Anaconda. It will open a setup window for Anaconda installations as given in below image, then click on Next.

- It will open a License agreement window click on "I Agree" option and move further.

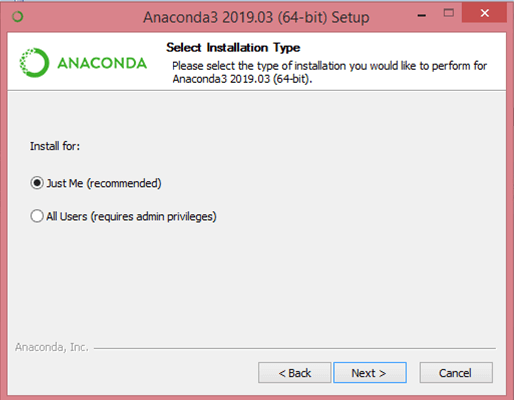
- In the next window, you will get two options for installations as given in the below image. Select the first option (Just me) and click on Next.
- Now you will get a window for installing location, here, you can leave it as default or change it by browsing a location, and then click on Next. Consider the below image:

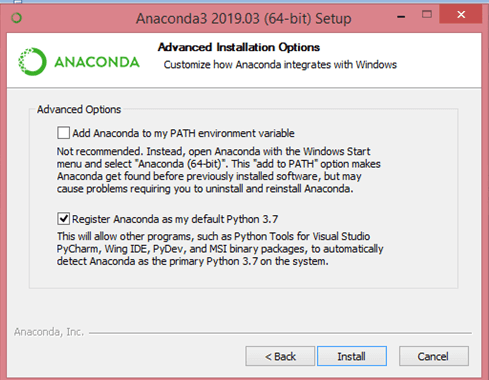
- Now select the second option, and click on install.
- Once the installation gets complete, click on Next.

- Now installation is completed, tick the checkbox if you want to learn more about Anaconda and Anaconda cloud. Click on Finish to end the process.

Note: Here, we will use the Spyder IDE to run Python programs.
Step- 3: Open Anaconda Navigator
- After successful installation of Anaconda, use Anaconda navigator to launch a Python IDE such as Spyder and Jupyter Notebook.
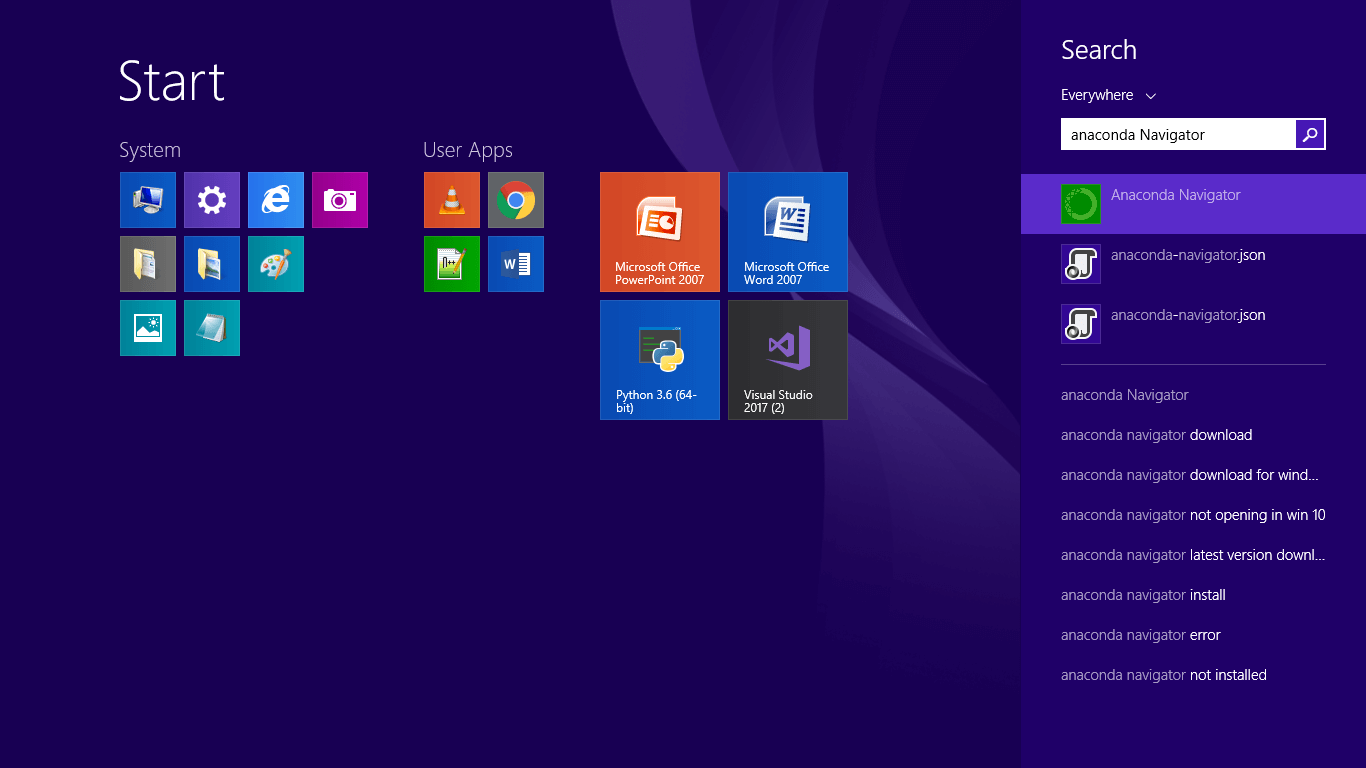
- To open Anaconda Navigator, click on window Key
 and search for Anaconda navigator, and click on it. Consider the below image:
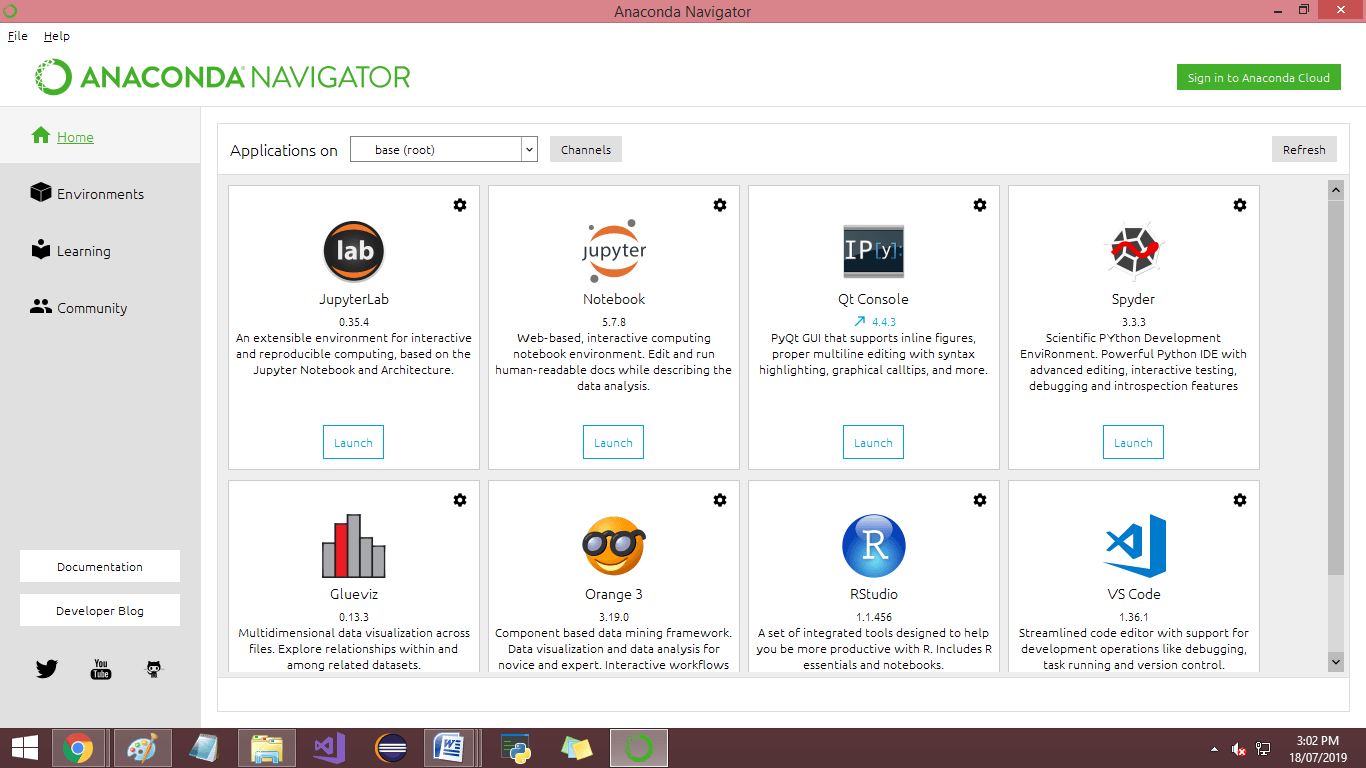
- After opening the navigator, launch the Spyder IDE by clicking on the Launch button given below the Spyder. It will install the Spyder IDE in your system.
Run your Python program in Spyder IDE.
- Open Spyder IDE, it will look like the below image:
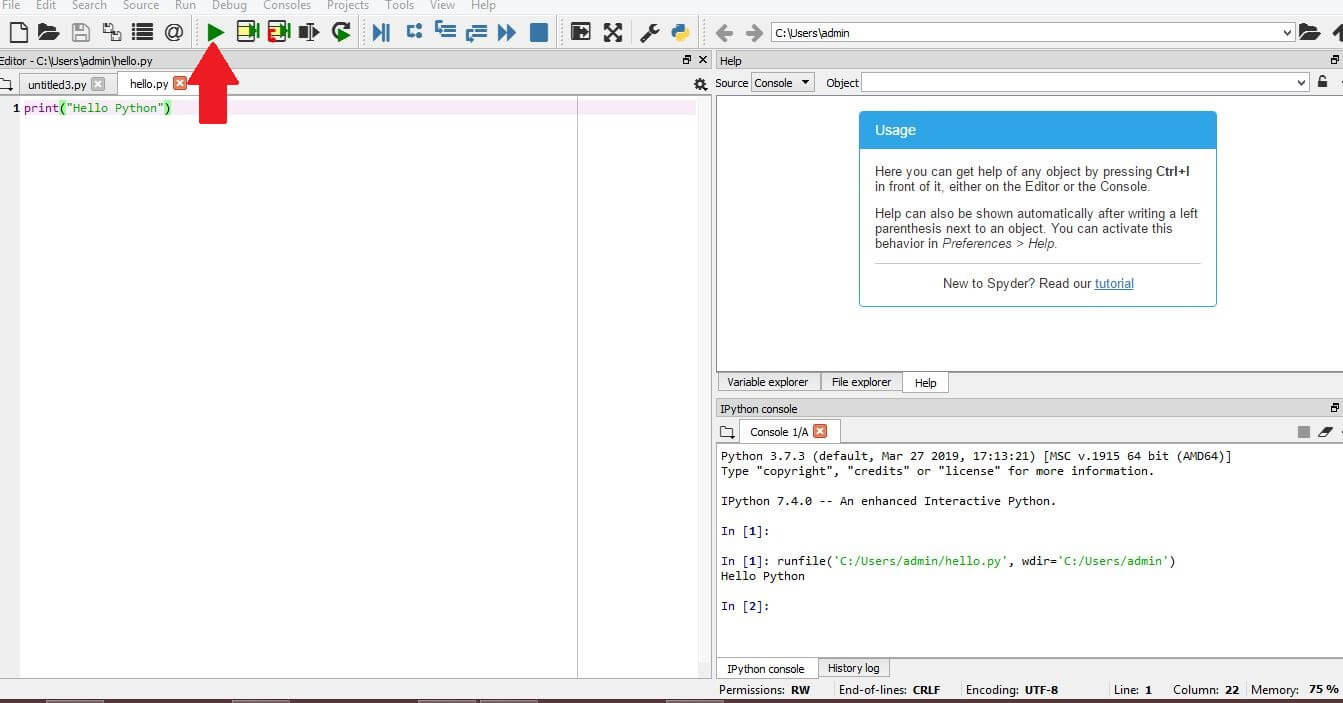
- Write your first program, and save it using the .py extension.
- Run the program using the triangle Run button.
- You can check the program's output on console pane at the bottom right side.
Comments
Post a Comment